Christmas homemade decor inspiration
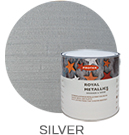
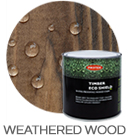
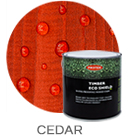
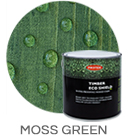
This year we have decided on a natural theme and colour choice for our Christmas decorations, which include upcycled, handmade and foraged items. To tie in with the launch of our new Timber Eco Shield, we have used Red Cedar, Moss Green and Weathered Wood, adding a delicate twist on the traditional colours. Of course to add a little bling, we couldn’t help but accent these with our wonderful Royal metallics wood paint.
Products we have used:
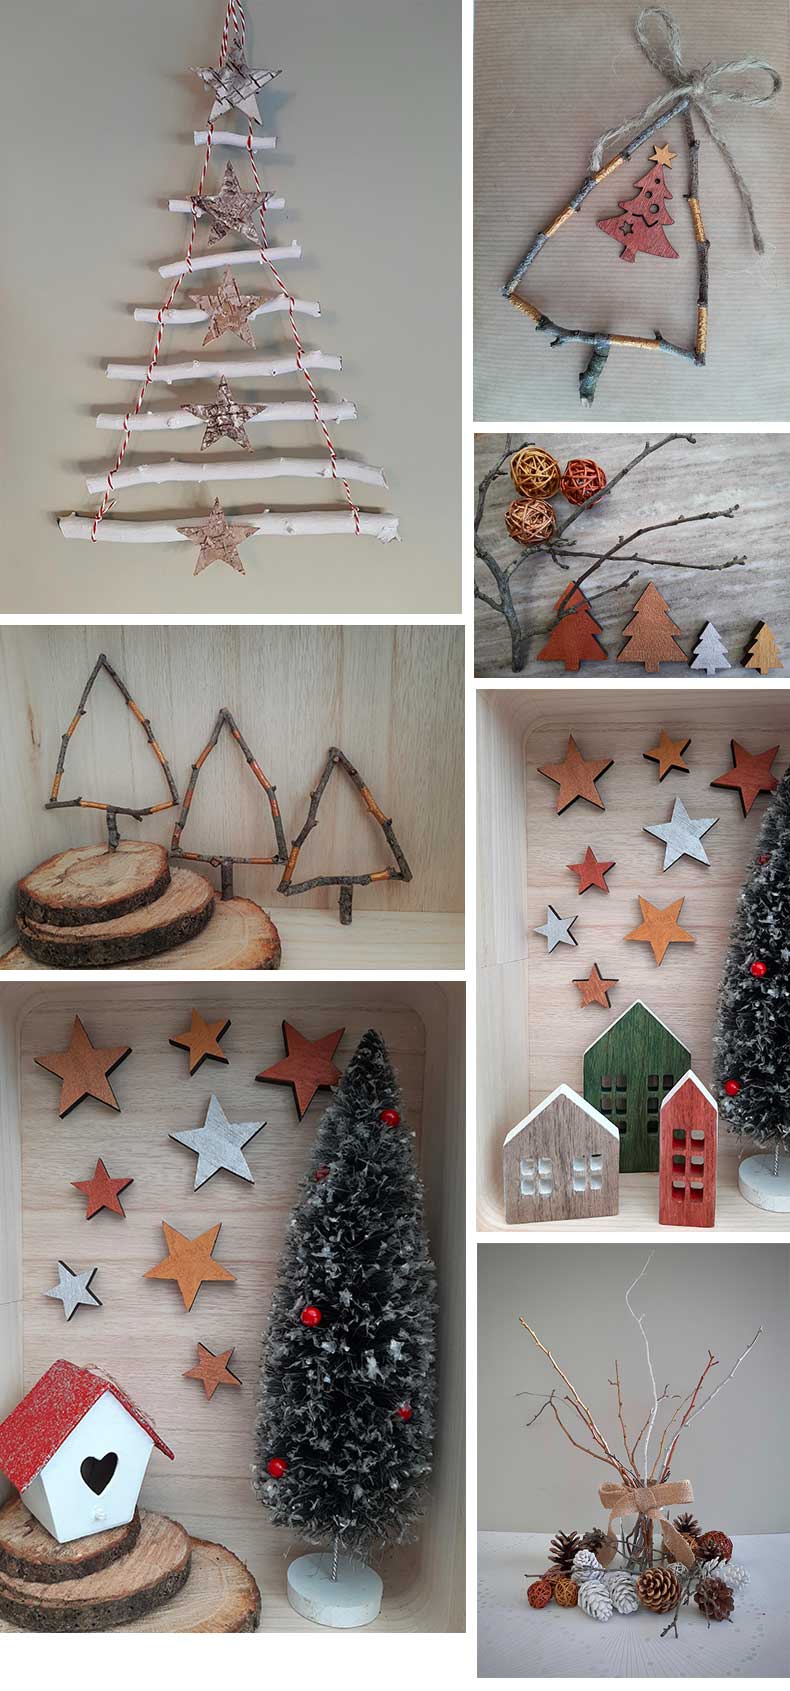
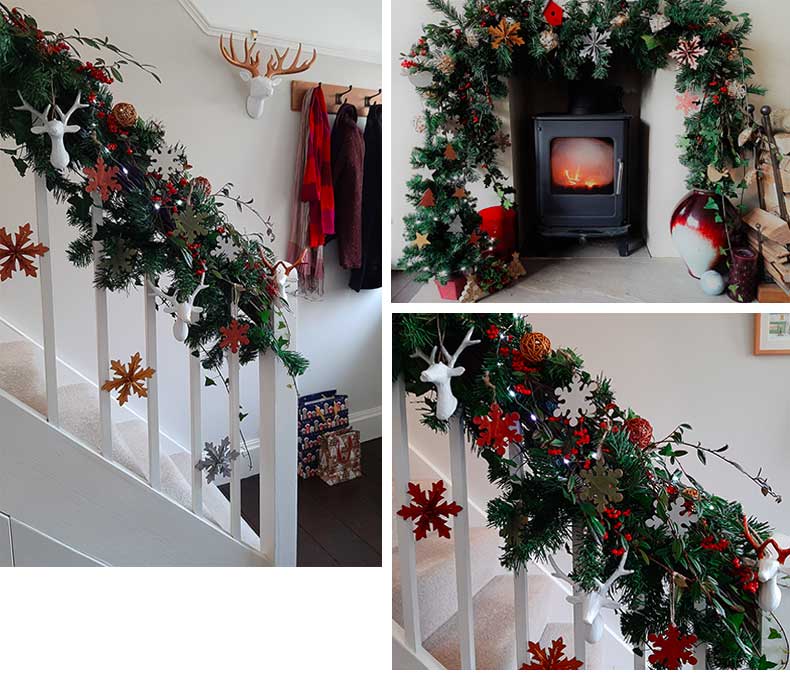 Bring your staircase to life over the Christmas period by giving it a festive makeover. Whether it’s the first thing to greet people as they enter your home or if even it’s tucked away, they are a perfect place to drape a garland or dangle some decorations to brighten up an often overlooked space. Make a green faux garland your own by adding natural evergreen foliage like Ivy or some with red berries such as Cotoneaster. You could even add something aromatic like Eucalyptus or Rosemary, which will release their scent as you brush past. This gives a perfect base to add your own hand painted Christmas decorations and a little sparkle. We embellished wooden and cardboard decorations from Hobby Craft and Baker Ross using Timber Eco Shield, Royal metallics and Royal Interior. If you don’t have a stair case, or need to keep the area clear, you can use the same idea around a door frame or mantelpiece.
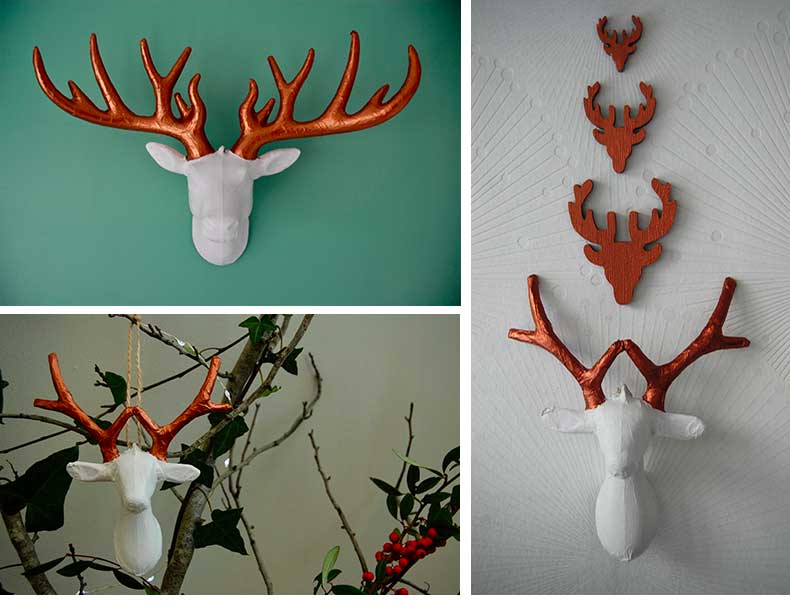 A larger paper mache reindeer’s head was given a glitzy make-over using Royal metallic Bronze for the antlers and Royal Interior Snow for the head. Team this with smaller reindeer heads, also painted in Royal Interior Snow, but using Royal Metallic Copper and Gold for the antlers, interwoven into a garland for your stairs. On it’s own, set against a wall painted in Farrow and Ball Arsenic green, this effortlessly simple decoration could undoubtedly stay up all year round.
Help your kids make some rustic Christmas decorations using foraged twigs from your garden or a wintry woodland walk. They don’t have to be perfectly straight as this adds to the character and texture, but try and get them thinner than a pencil. You will also need a glue gun, secateurs (or a sharp pair of scissors) and some embellishments such as paint, ribbon, twine or even buttons. Gather your twigs together and cut them into sets; two longer pieces for the sides, one slightly shorter for the bottom and a much shorter piece for the truck. First glue the two longer pieces together at the top, making sure the gap at the bottom will fit the twig for the base. Then take your base twig and glue it in place to finish the triangle. Lastly take the very short twig and glue it roughly in the centre of the base twig. Set them aside to dry and continue with the other sets you are making. Once they are dry you can add your embellishments. We kept it simple by painting stripes with Royal Metallics, but you could decorate your trees with anything you have left over from wrapping presents or you can find around the house. Wrap ribbon or twine around the twigs, from side to side making the middle more solid, or glue buttons or pompoms on. The possibilities are endless!