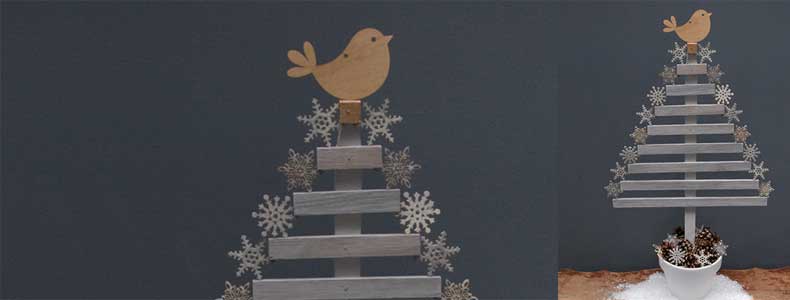
Making a wooden Christmas Tree
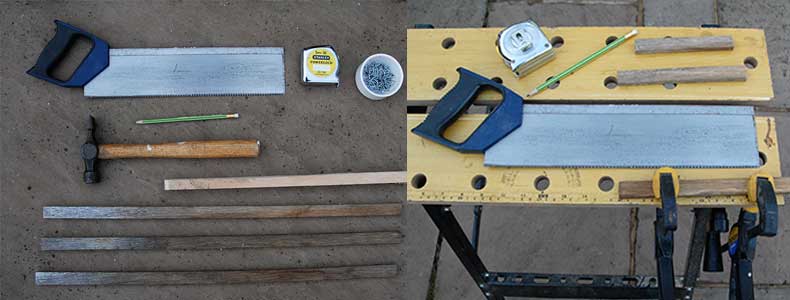
YOU WILL NEED:
Wood off cuts
Tape measure
Pencil
Saw
Clamps
Hammer
Small nails or tacks
Wood glue
Protek Royal Exterior or Wood Protector
Pot to put tree in
1. We have used off cuts of wood to make the Christmas tree, but you can use anything you have to hand. You will need one long piece as the ‘trunk’ that the rest of the ‘branches’ will fit onto. The sizes are entirely up to you and the wood you have available. We used one piece that was approximately 800mm x 220mm x 10mm for the ‘trunk’ and cut nine pieces from a piece 20mm x 8mm for the branches. The longest bottom branch is 340mm and they then decrease in size by 40mm, so the second to bottom is 30mm.
2. Mark the pieces of wood to require lengths and cut. We clamped them to a work bench to make it easier.
 3. Once you have cut all the pieces of wood to the required lengths, mark the centre of them so they will be even on the trunk. Next, place them on the trunk so you can measure their final positions. We left the same size gap between the branches as the width of the piece of wood, so 20mm. Mark the top and bottom of the branch position on the trunk, so when you take them off, you know where they should go.
4. Cut the top of the trunk into a point if necessary, so it cannot be seen behind the first branch.
5. Start with the smallest branch (which will go at the top of the trunk) and place a small amount of glue on both the trunk and the branch. Place it on the trunk, making sure it is in the correct position (centred and evenly spaced) and hammer in a small nail or tack. Continue down the tree until all of the branches are in place.
6. Leave the tree for at least twenty four hours to ensure the glue has set.
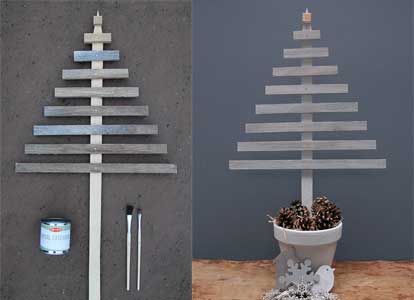
7. We intended to put the tree in a pot so did not make a base for it. Measure the trunk and cut the length according the pot you have.
8. Paint the tree and pot in your chosen colour.