Upcycle your laundry basket it's super easy

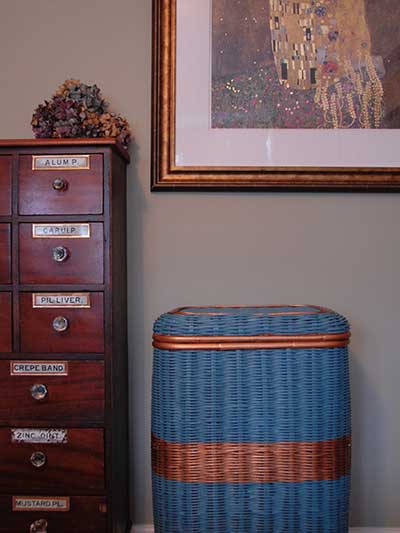
Christmas is a fading memory. It’s dark, wet and cold outside and most people are still in winter hibernation, longing for Spring to arrive. Whilst you’re waiting for the warmth and sunshine of the brighter days ahead, why not put your time to good use and re-vamp something from around your house. We found a tired and slightly battered wicker laundry basket, which had definitely seen better days, but rather than consigning it landfill, we decided to give it a make-over.
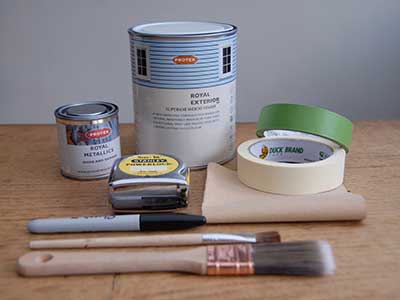
We started by removing the fabric liner and giving it a good brush to remove any dust and loose fibers. To make sure the paint takes to the surface you are painting, it may be necessary to key the surface with some sandpaper. Most of our laundry basket was OK, but the bamboo edging was very smooth and shiny, so we gave it a quick sand with some 80 grit paper. Once you have finished any sanding, brush it down again and wipe it with a damp cloth to remove any fine particles.
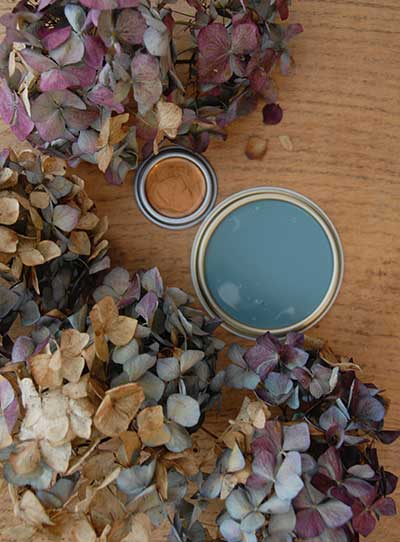
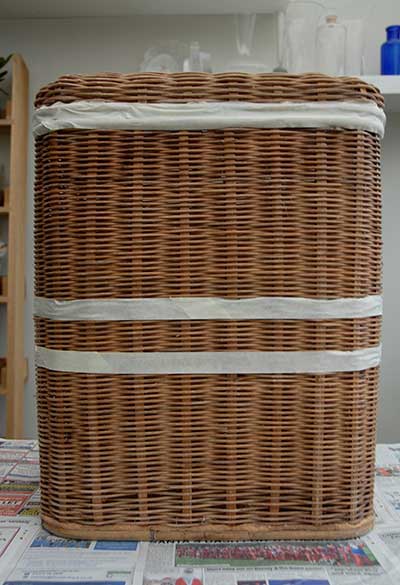
Leave to dry before starting to paint. To add some extra interest to our basket, we used two colours, Royal Heritage Blue and Royal Metallics Bronze. If you are going to paint different colours, it’s best to separate off the areas using masking tape.This should make it easier to paint and also help prevent bleeding of the colours. We wanted to paint a stripe around the middle, so measured the same distance from the top and bottom of the basket (20cm in this case) and marked it with a marker pen. As we were painting the main colour, Heritage Blue, first we put the masking tape along the edge where the blue will finish (covering the area where the Bronze will be). Do this all the way around the item and smooth it down so the paint doesn’t leak underneath. As the basket is wicker, we weren’t going to get a perfect line, but it can be amended by eye as you go along. Make sure you put down some old newspaper or a dust sheet under the item you are painting to prevent any unwanted paint transfer and splashes.


Once all the preparation has been done, you can start painting. The brush we used had synthetic bristles, as this works best with our water based paints. Don’t choose one that is too big, as you’ll find it harder to cut in along any edges. Work your way around the item, being careful not to smudge any wet paint as you go. The first coat will act as a base layer and depending on the item’s original coating, it may not cover completely in one go. Leave this first coat to dry, and then apply another. Two coats are usually sufficient, but if necessary apply a third. Once all the coats are dry, you can carefully remove the masking tape. If you feel confident enough, it may not be necessary to apply another line of masking tape for the second colour. The Heritage Blue gave a good, clean edge, so we didn’t apply any more masking tape to the basket. Apply the second colour in the same way as the first, being careful where the colours join. As the bronze was a similar colour to the natural wicker, we found that one coat was sufficient to cover it.
Make sure your item is completely dry before moving it to it’s final position !


