Crafting Fun with Wooden Rabbits
We’re normally all about the big garden projects, but sometimes we like to take it back a bit and think of ideas that are family friendly especially when you are looking for things to do and also things to keep any little ones entertained!
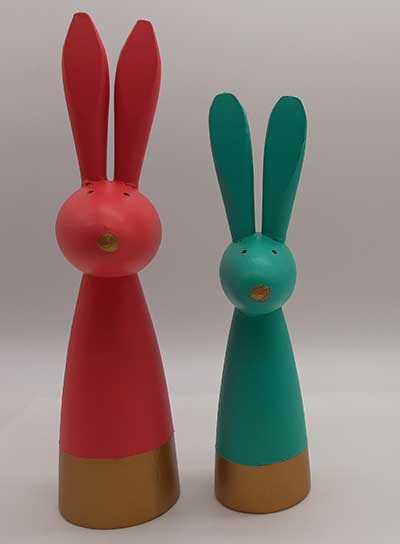
We chose two bright and bold contrasting colours for the main bodies of the rabbits; Royal Giddy Green and Royal Flamingo Pink. For the bases we used the same colour to tie them together; Royal Metallics Gold.
Make sure there are no rough edges or excess glue on the rabbits. If there is, use a fine grade sandpaper (P120 grade) to smooth them off.
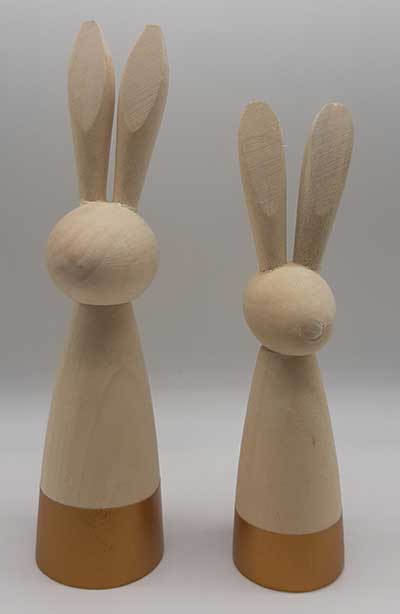
Use a good quality masking tape to mask off the area at the base of the rabbits. Measure and mark your desired depth all the way around using a pencil and ruler. Place the masking tape above the marked lines making sure it adheres well to the wood to prevent any paint leaking through. Try and make sure this is as straight as possible, because your eye is drawn to the line where the colour changes. Paint the chosen base colour using a small brush, keeping the strokes in the direction of the woodgrain. Once completely dry, paint another coat. Depending on your chosen colour you may need two or three coats to give a solid colour. We left the paint to dry over night to ensure it was fully dry before removing the masking tape. Hopefully you should be left with a clean line!
To paint the main body of the rabbits, carefully stick masking tape along the edge of the base colour where it joins the bare wood. Try to make sure it on the line exactly, so the colours join without any gaps. Again, make sure it adheres well to prevent any paint leaking through. If you are painting the nose a different colour, mask off this area as well. Paint the main body colour using a small brush, keeping the brush strokes in the same direction as the woodgrain.
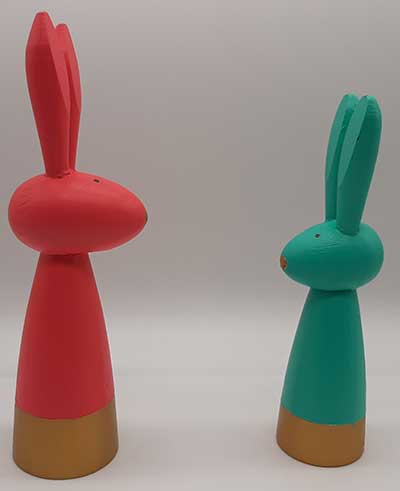
Once completely dry, paint another coat. Depending on your chosen colour you may need two or three coats to give a solid colour. We left the paint to dry over night to ensure it was fully dry before removing the masking tape. Hopefully you should be left with a clean line!
As the eyes were so small, we decided to use a marker pen to put these on, rather than paint and brush. Mark where you want the eyes to go with a pencil before using the marker to make sure they are in the correct place.
Order some sample pots today and start having some crafting fun!
If you have a great crafting project you would like to show off, we would love to see your finished project. Use #loveprotek and we will gaze with envy and share across our social channels.